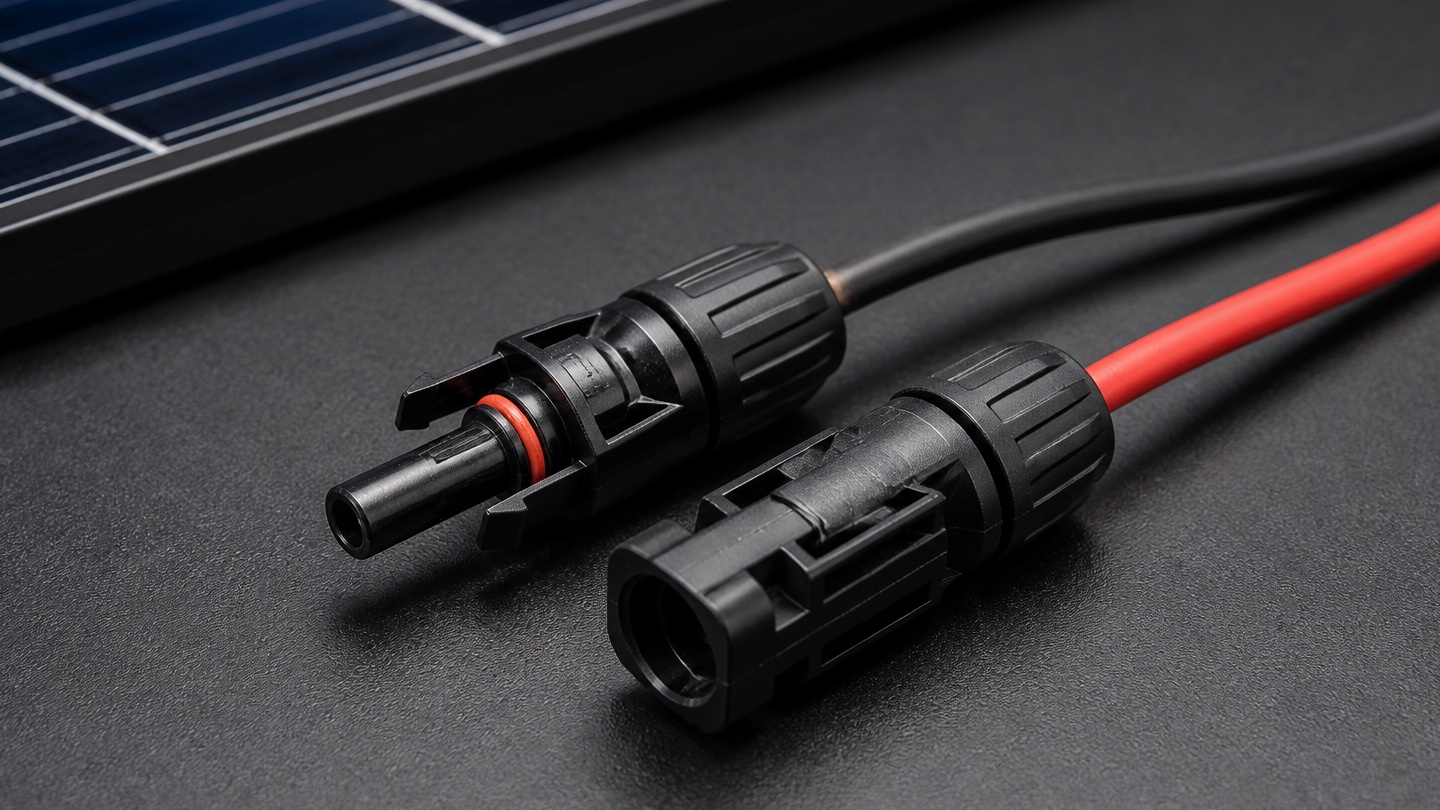
Solar connectors look simple, but they form part of a long-term outdoor DC connection. Buying only by appearance or a familiar connector name can create compatibility, sealing and installation problems. The right request starts with the approved system specification.
Start with system compatibility
Confirm the connector type specified by the module, cable assembly or system designer. Connectors from different manufacturers may physically mate while using different contact geometry, materials or tolerances. Visual fit alone does not establish that a mixed pair is approved or safe.
For new work, use a compatible matched male-and-female system and follow the manufacturer’s instructions. For repair or extension work, identify the existing connector precisely before ordering replacement parts.
Match the connector to the cable
The contact and sealing components must suit the cable conductor and outer diameter specified for the installation. Share the cable make, conductor size and outside diameter with the supplier rather than requesting a connector in isolation.
A connector intended for a different cable range may not crimp or seal correctly. Confirm whether the order includes the complete connector housing, metal contacts and sealing components, and whether male and female quantities are balanced.
Check the electrical and environmental specification
Use the project schedule and manufacturer documentation to confirm voltage, current, temperature, material and environmental requirements. Outdoor exposure, UV, dust, water and installation location all influence the specification.
Do not infer performance from colour or shape. Ask for product documentation that corresponds to the exact item being quoted, then have the responsible engineer or installer confirm suitability for the system.
Plan the correct tools and assembly method
A dependable connection requires the specified stripping length, contact preparation, crimping process, assembly torque where applicable and a final inspection. Generic pliers are not a substitute for the recommended crimping tool and die.
The installer should follow the connector manufacturer’s assembly instructions and applicable site procedures. Pull checks, polarity verification and testing should be carried out by qualified personnel before energization.
Questions to include in a purchase enquiry
A concise, complete enquiry helps the supplier quote the right connector and avoids assumptions.
- What exact connector system or approved equivalent is required?
- What solar cable make, conductor size and outer diameter will be used?
- What system and environmental ratings are specified?
- Are complete pairs, individual sides or branch connectors required?
- Which assembly tools and spares are needed?
- Can product documentation for the quoted model be supplied?
Avoid these common buying shortcuts
Avoid mixing unidentified connector halves, ordering by photograph alone, assuming every ‘MC4-compatible’ item has identical approvals, or accepting a cable mismatch because the parts can be forced together. A low-cost connector is not good value if it introduces rework or an unreliable DC joint.
Key takeaway
Choose solar connectors as a matched, documented system. Confirm the existing equipment, cable range, electrical and environmental requirements, and the correct installation tool before buying.