Panels and an inverter may be the most visible parts of a solar project, but the balance-of-system materials are what connect, support, protect and organize the installation. A clear bill of materials reduces last-minute substitutions, repeat trips and delays at site.
1. Confirm the project information first
Do not begin with quantities alone. The correct material list depends on the module layout, roof or ground condition, cable route, inverter arrangement and the project design approved by the responsible engineer or installer.
Record the exact make and model of major equipment where compatibility matters. Also note the installation environment, expected cable lengths and any site constraints that affect routing or corrosion protection.
- Module count, dimensions and approved array layout
- Roof type or ground-mount structure and fixing surface
- Inverter quantity, location and approved electrical design
- Estimated DC, AC and earthing cable routes
- Required material, coating, enclosure and ingress-protection specifications
2. Mounting and structural hardware
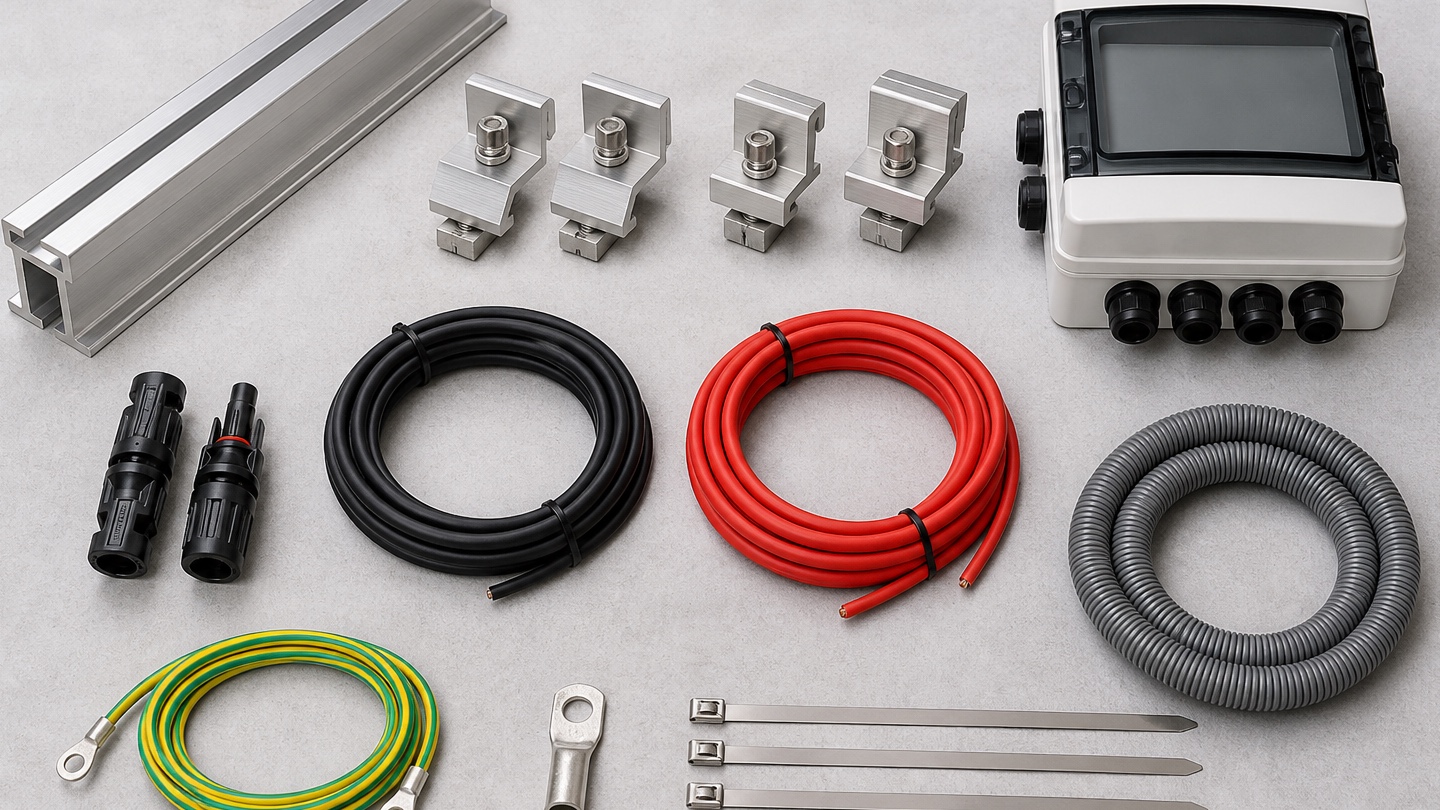
The mounting system must suit the module, site and engineered structure. A typical procurement list may include rails, mid clamps, end clamps, fasteners, anchors, U-bolts and supporting pipes or channels.
Check rail lengths and splice requirements against the layout. Confirm clamp compatibility with the module frame and ensure the selected fastener material and coating suit the environment. Structural sizing and fixing methods should always follow the approved design.
3. DC connection materials
DC-side items commonly include compatible solar cable, connector pairs, extension leads where specified, cable lugs and correctly selected termination accessories. Connector components should be treated as a matched system rather than visually interchangeable parts.
Confirm cable conductor size, insulation specification, colour identification, route length and termination method. Include a realistic allowance for routing and dressing, but avoid guessing: a measured route is more reliable than a broad percentage allowance.
4. Earthing and bonding
A complete earthing list can cover earthing cable, bonding conductors, lugs, clamps, electrodes or approved earthing kits, inspection pits and identification materials. The actual arrangement must follow the project design and applicable electrical requirements.
Make sure every required termination has the correct lug, fastener and interface material. Small omissions at connection points are a common reason an otherwise complete material order still cannot be installed.
5. AC/DC protection and distribution
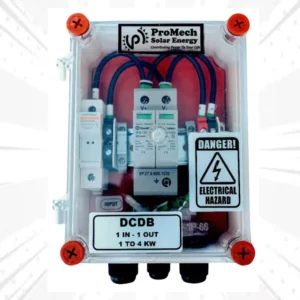
ACDB and DCDB assemblies house switching and protective devices selected for the system design. When requesting a quote, share the single-line diagram or an approved schedule instead of asking only for a generic box.
Specify the number of inputs and outputs, system voltage and current details, enclosure requirement, protective-device schedule, cable-entry arrangement and whether monitoring or surge-protection provisions are required. Final selection and installation should be completed by a qualified professional.
6. Cable routing, fixing and identification
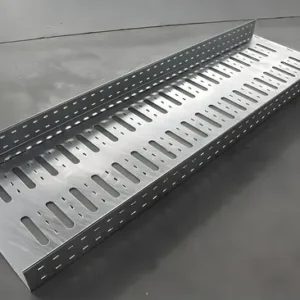
Cable trays, trunking, conduit pipes, elbows, tees, clips and cable ties keep runs protected and serviceable. Separate indoor and outdoor requirements, and identify where metal or UV-resistant routing products are specified.
Include joints, bends, supports, end treatments and labels—not just straight lengths. A route sketch with measurements helps a supplier check whether the accessory list is complete.
7. Send a quote-ready requirement
The fastest way to receive a useful quotation is to send a structured requirement: product name, specification, preferred brand if any, quantity, delivery location and required date. Attach the approved bill of materials or drawings when available.
- Separate mandatory specifications from acceptable alternatives
- Ask for current availability and lead time, not only unit price
- Confirm packing quantities and whether accessories are included
- Recheck revisions before placing the final order
Key takeaway
A useful solar material checklist follows the installation sequence: support the modules, connect the circuits, provide earthing, add protection, and finish the cable routes. Build the order from approved project information and verify compatibility before purchase.